How to move downloaded recording (Enhanced Audio/ Video) MP4 file in Content library to Recording Tab of a Meeting
ISSUE DESCRIPTION: How to move downloaded recording (Enhanced Audio/ Video) MP4 file in Content library to Recording Tab of a Meeting.
ENVIRONMENT:
- Adobe connect Hosted/ On-premise
- Adobe connect Recording
- Adobe connect 12.0 and above.
RESOLUTION:
- Download the Recording (Enhanced Audio/Video) MP4 file to your local disk.
- Create a folder and paste the MP4 file of the recording you have downloaded along with file name index.html file.
NOTE: Download sample zip file with Recording MP4 file, index.html file from this link – https://acrobat.adobe.com/link/track?uri=urn:aaid:scds:US:336454ef-6f19-4fab-abef-bc7211c28c1c

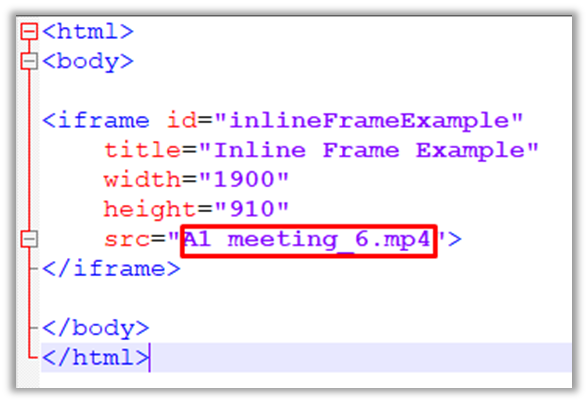
- Open index.html file and replace name of MP4 file with the existing MP4 file (In this case it is A1 meeting_6.mp4) already added> Save index.html file.
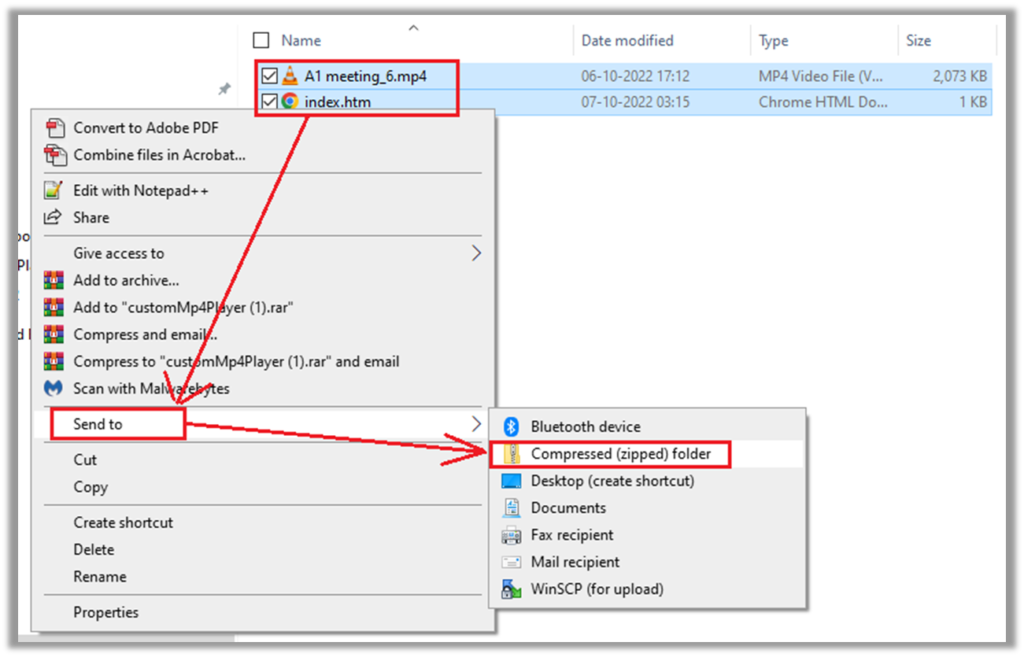
- Select these 2 files (Recording MP4 file and index.html file) and create a zip file with any name like name of the recording.
- Login to your account unir.adobeconnect.com as an administrator.
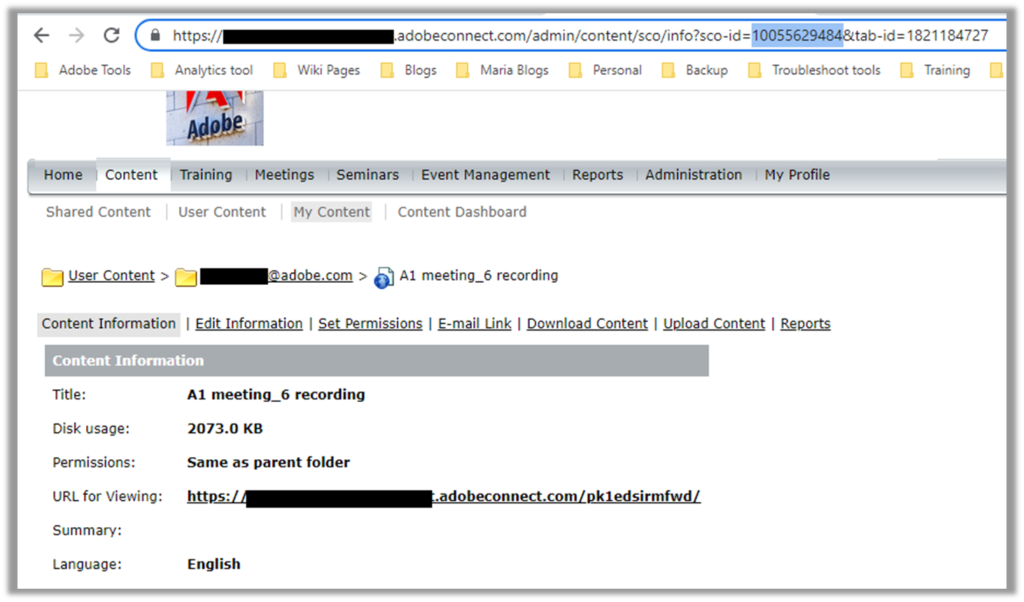
- Copy Sco-ID of the uploaded content (The unique ID of the SCO to move). In this example it is 10055629484:
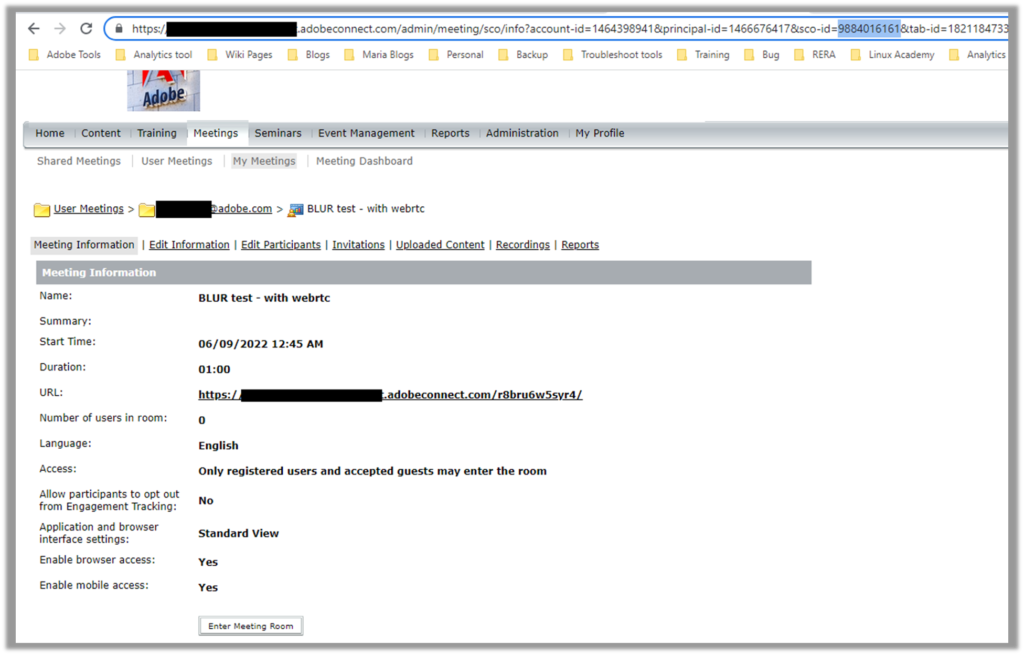
- Copy sco-Id of the meeting (The ID of the destination folder). In this case it is 9884016161.
- Execute the sco-move API like – https://connect-domain/api/xml?action=sco-move&sco-id=10055629484&folder-id=9884016161 (The Connect Domain, sco-ID , Folder ID will be different in your case)
- Check the result which should be like <status code=”ok”/>
- This will move the recording to Uploaded content Tab of the meeting.
- Execute the sco-update API like – https://connect-domain/api/xml?action=sco-update&sco-id=10055629484&date-begin=2022-10-06T17:12:17.407&date-created=2022-10-06T17:12:17.407&date-end=2022-10-06T17:12:59.140&icon=archive (The Connect-Domain, sco-ID will be different in your case, Date-begin, date-created, date-end will be present date in this example it is 6 October 2022)
- Check the result which should be like <status code=”ok”/>
- This will move the recording to Recording Tab of the meeting.
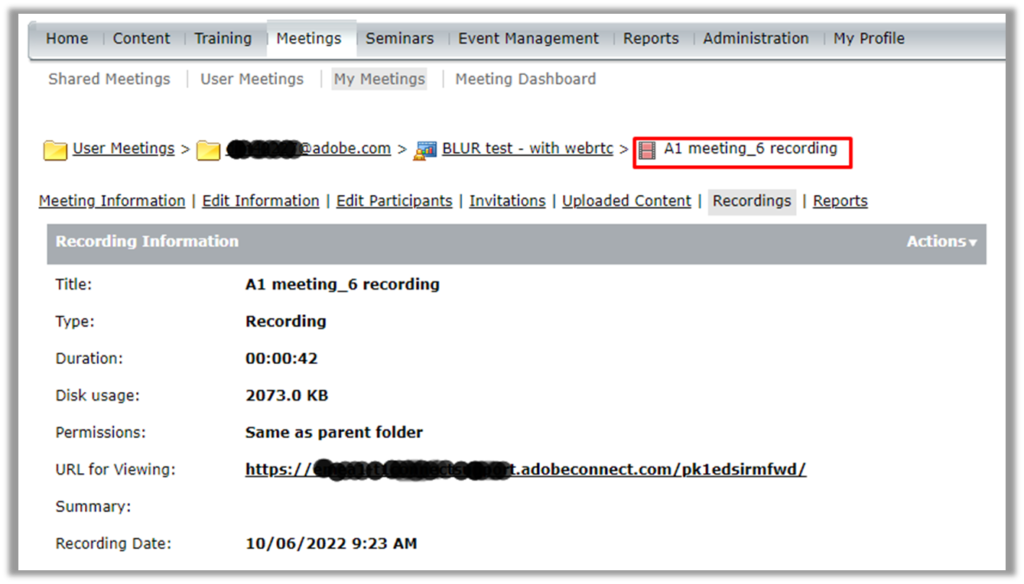
- Click on the “URL for Viewing” which will play the recording in the browser.