Two Speaker Event Template
Adobe Connect 9 introduced incredible improvements to the Events module – enabling customers to create beautiful microsites for their events. Although the event entry page hasn’t changed significantly, the resulting landing page and registration pages have been vastly improved. A speaker information page has also been introduced as part of the microsite. When creating an event in Adobe Connect, an event manager can add a speaker name, description, detailed description and image. A thumbnail version of the image as well as the shorter description appear on the main event landing page, while the detailed description appears on the speaker info page with a much larger version of the image. Some events however, might feature more than a single speaker. The event creation process does not allow for multiple speakers, however there is an easy way to add multiple speakers to your event. This tutorial will illustrate how to quickly create a custom event template for your event that incorporates multiple speakers.
————————————————————————————————————————–
1· Create a new event template, click on the ‘Event Templates’ link under Event Management. Choose to edit an existing template, then click on the ‘My Templates’ link. Near the top of the ‘My Templates’ list, you’ll see a button to create a new template. New templates are based on existing templates – in this tutorial, we’ll use the Default Template as our base.
————————————————————————————————————————–
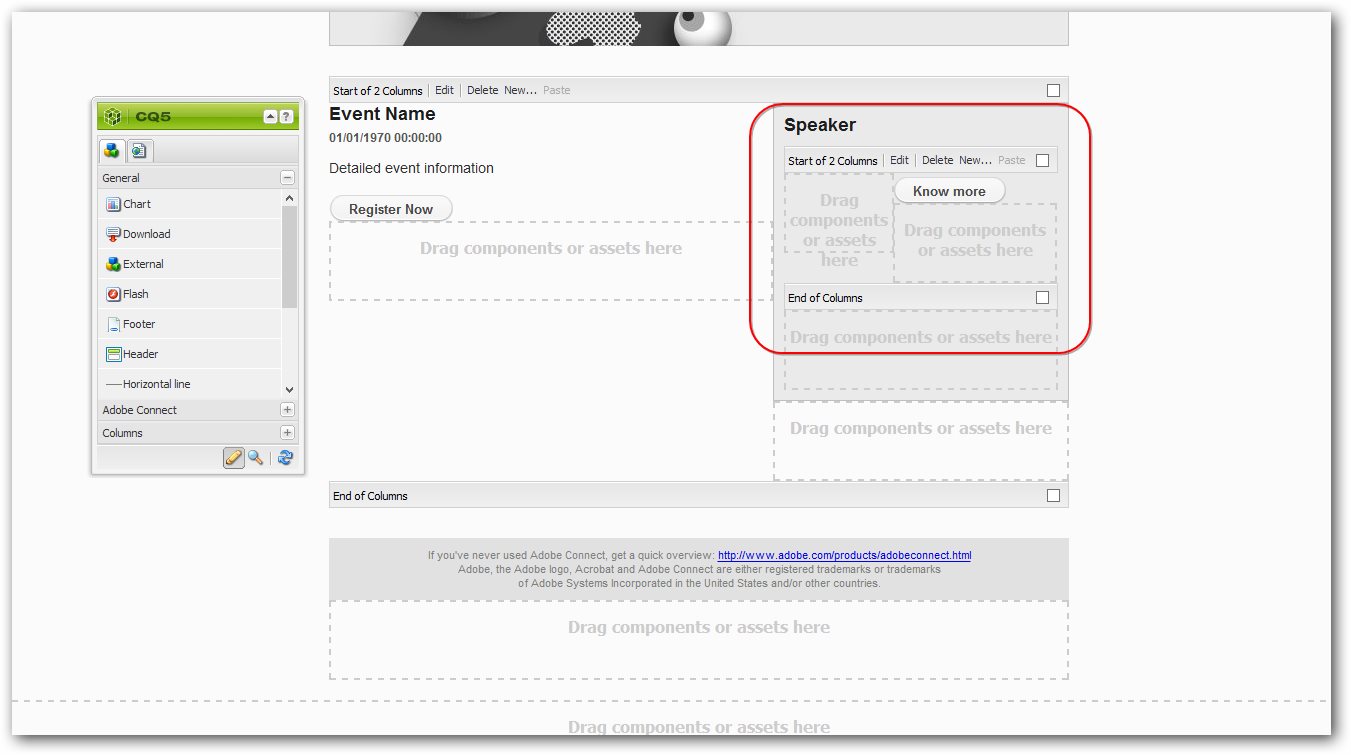
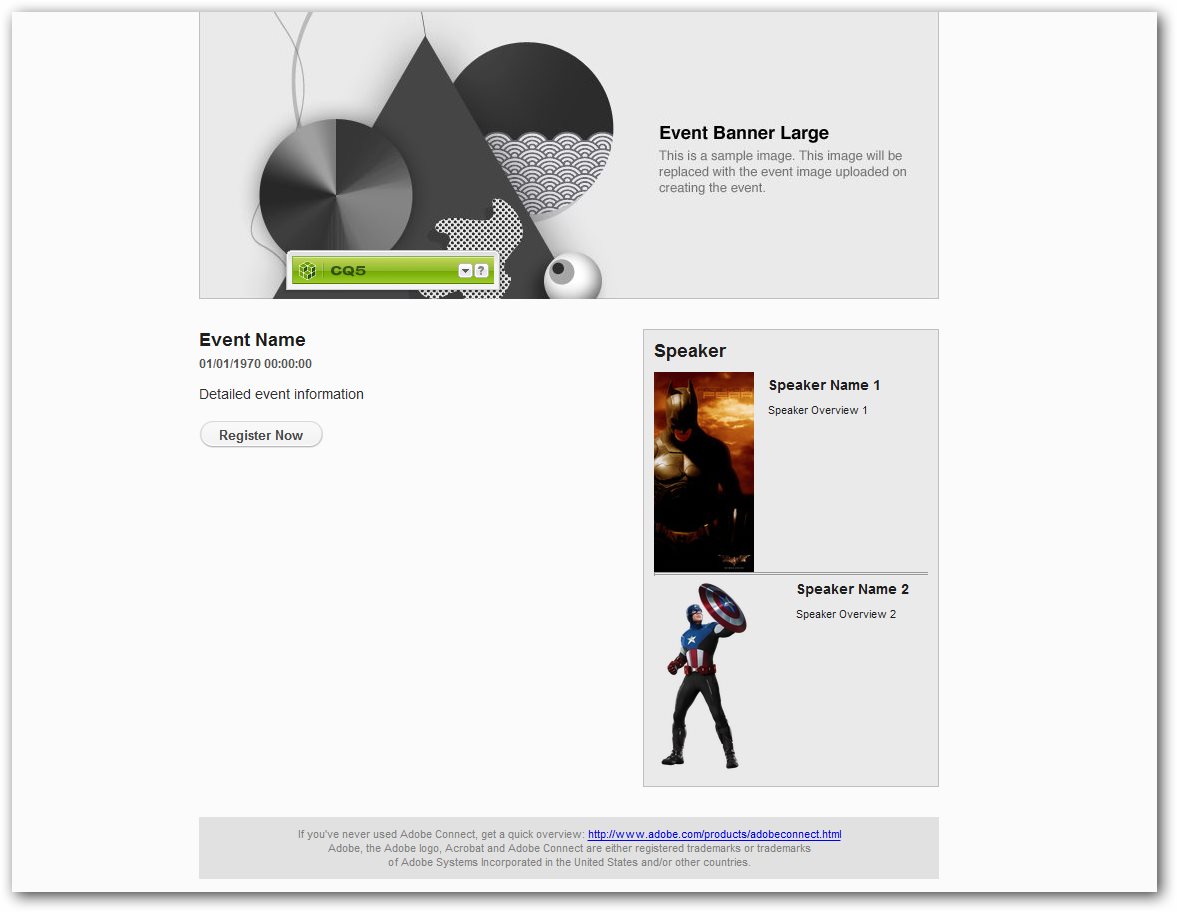
2· Delete the default Speaker picture, Speaker Name, Speaker Overview.
————————————————————————————————————————–
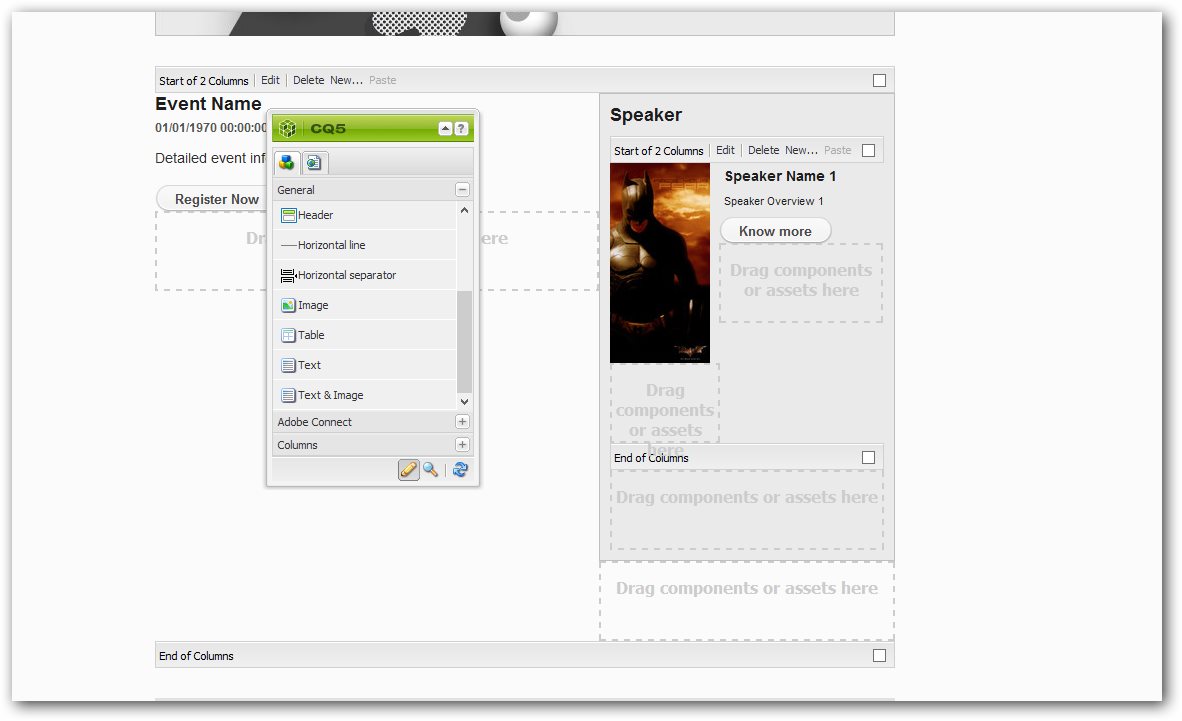
3· Add a new picture element and two text elements into speaker information box with below specifications –
a. Speaker Picture, select a picture and upload it and in advanced tab, enter 100 in first size box. Leave rest of the things as default.
b. Speaker Name Text box will have font Helvetica with size 14, Bold, and remove the background color. Leave rest of the things as default.
c. Speaker overview will have font Helvetica with size 11 and remove the background color. Leave rest of the things as default.
————————————————————————————————————————–
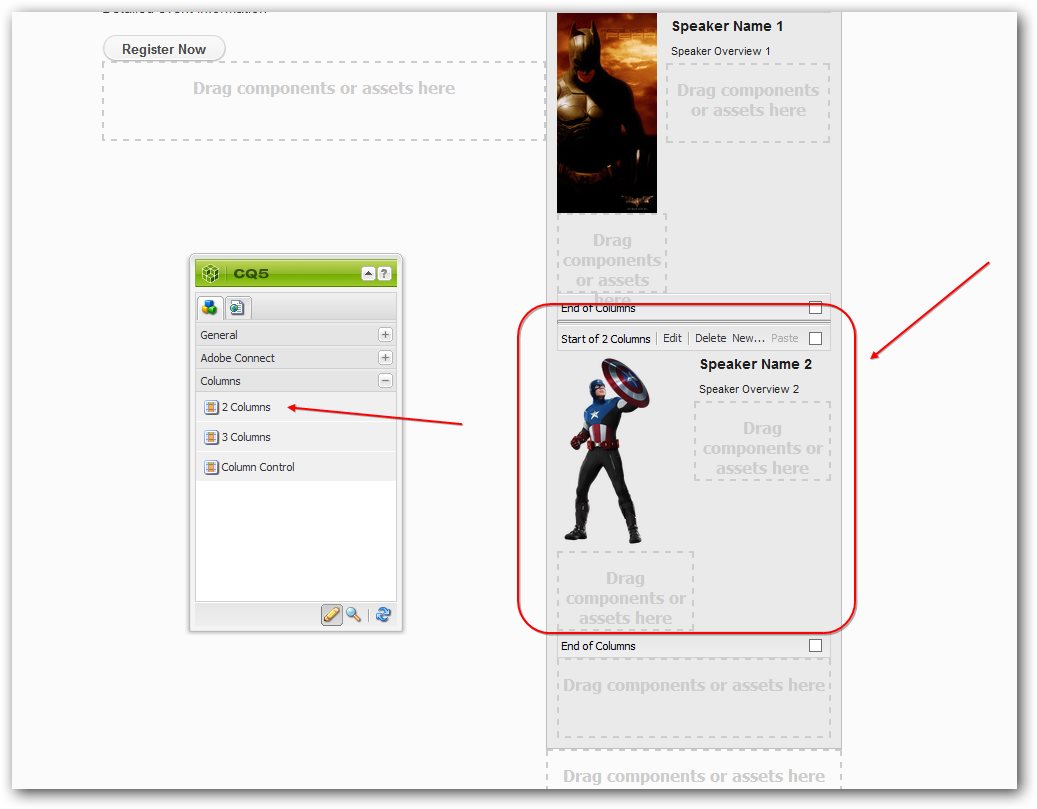
4· Now you will need to add new column, select 2 column element.
————————————————————————————————————————–
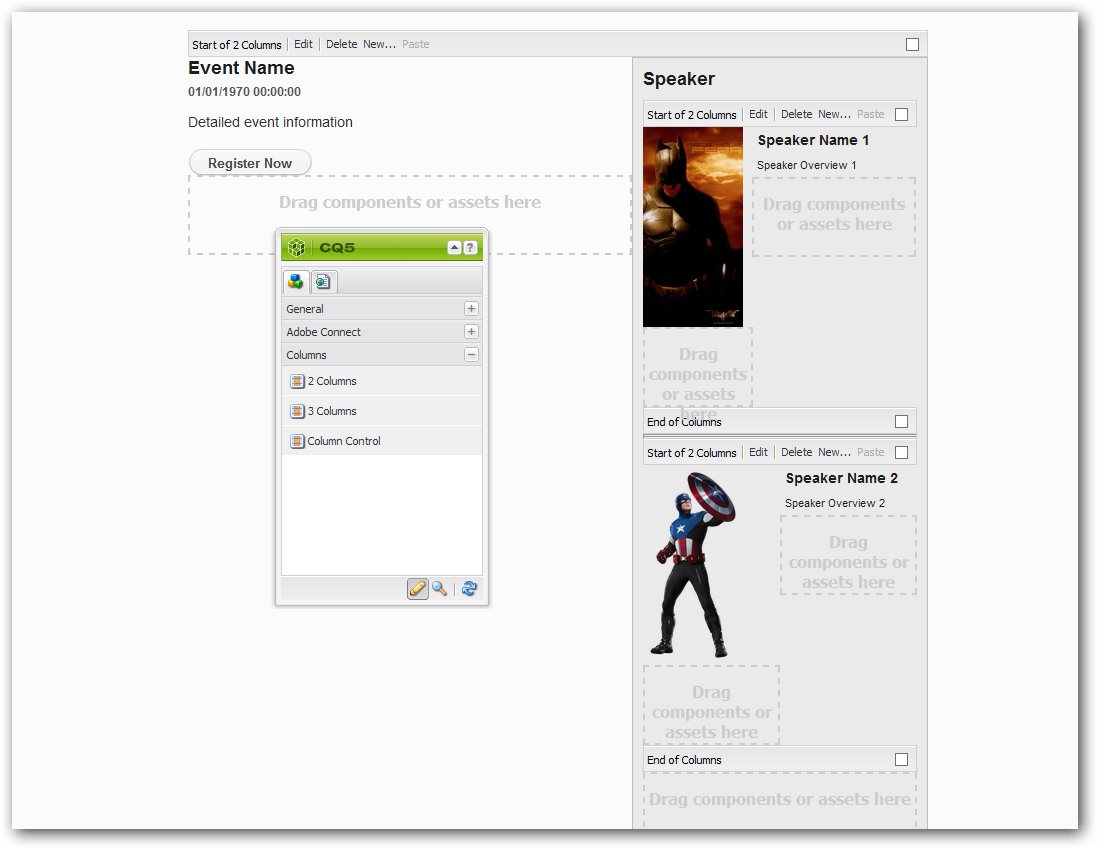
5· Iterate Step 3 again and add another set of picture and text boxes.
————————————————————————————————————————–
That’s it, you are done with the template creation!
I’ve got a quick video tutorial on creating a two speaker template here: http://youtu.be/s45Ugfd-394
Hey guys –
Because the EVENT FORM is fixed (the form you fill out to create the event), wouldn’t you need to actually ADD THE TEXT for the second speaker to the template manually?