Visual Walkthru – C12.4.1 (LCC only) Install process
The following 40+ screen grabs will walk you thorugh the Adobe Connect 12.4.1 Legacy Connect Cluster (LCC) install process.
NOTE: WordPress has a tough time displaying this many images, so you will likely need to refresh your browser (F5 on most) a number of times before you will get all the images to display. (each image is followed by Figure #)
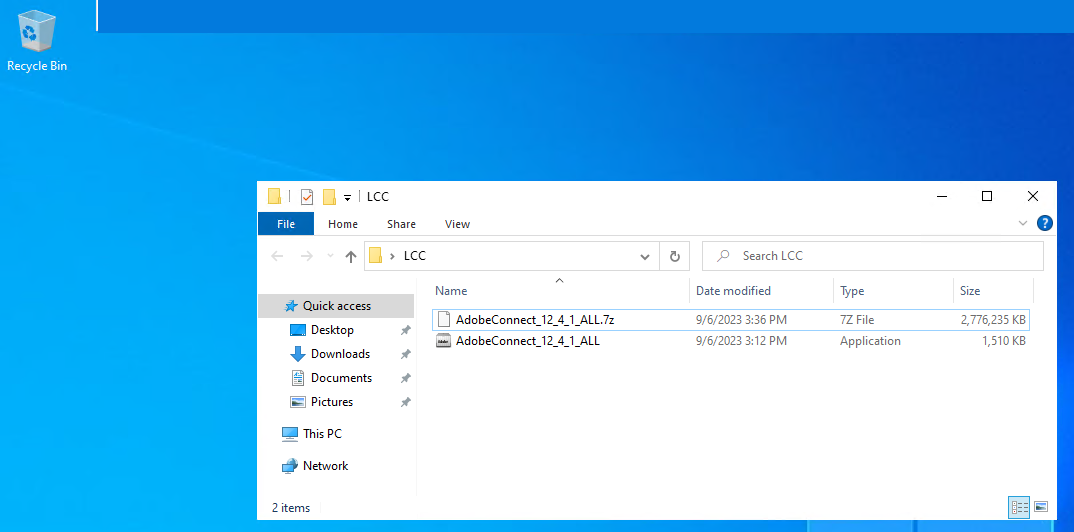 Figure 1
After downloading from the LWS website, you will have these two files for your LCC deployment on your Windows server.
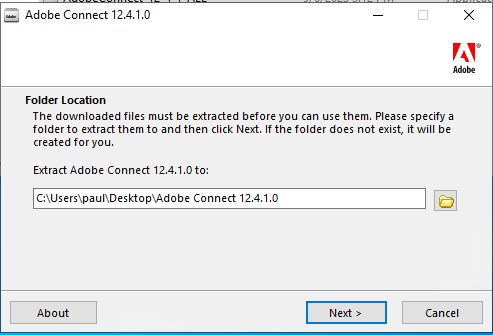
Figure 2
It will unpackage the install package to the desktop of the server
 Figure 3
 Figure 4
It is highly recommended that youu work your way down to the install.exe file and run it as Administrator
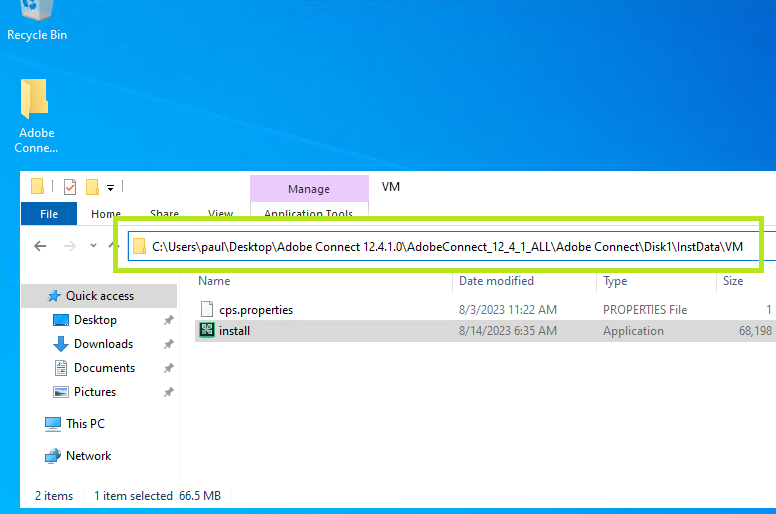 Figure 5
 Figure 6
 Figure 7
 Figure 8
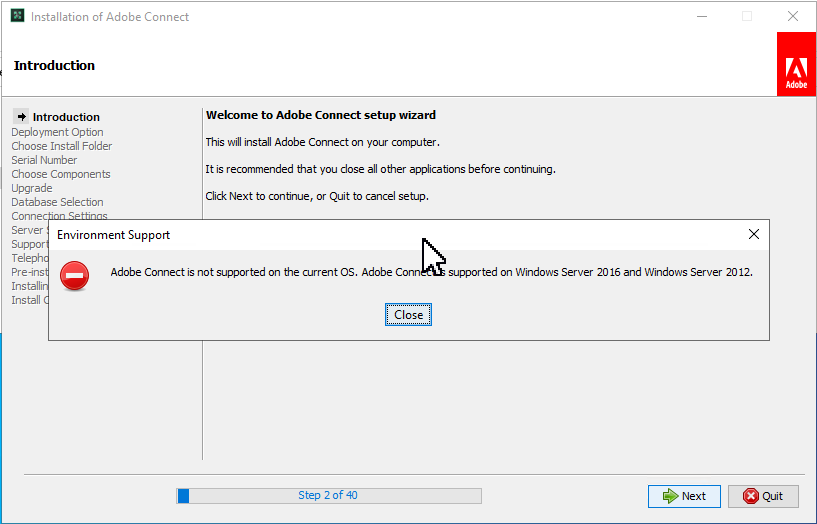 Figure 9
I installed on Widows 2022 and it installed just fine. But please patch your install up to the lastest version to full support of Windows Server 2022
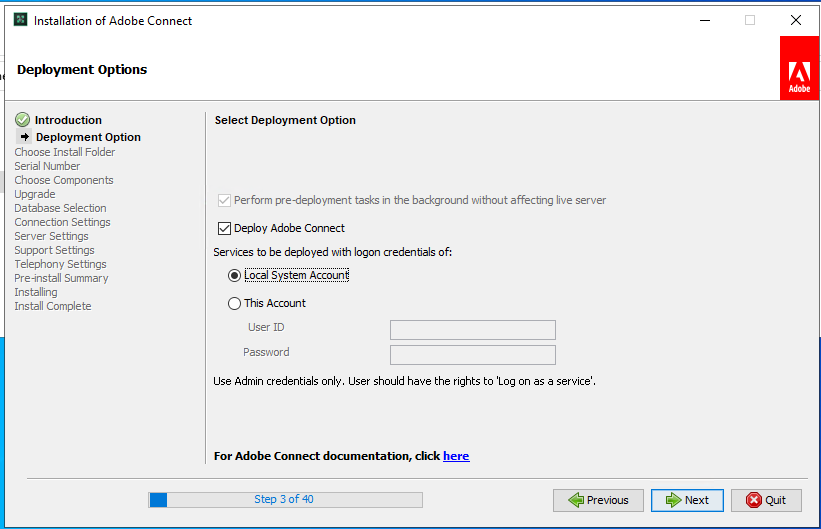 Figure 10
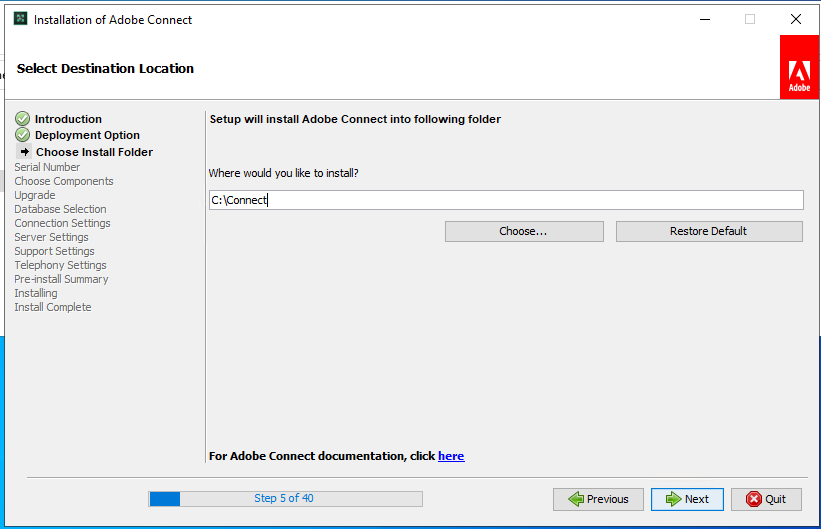 Figure 11
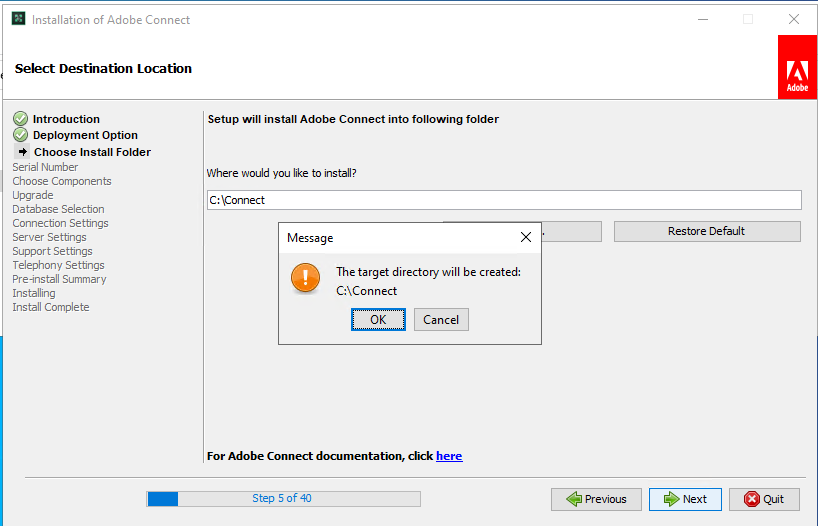 Figure 12
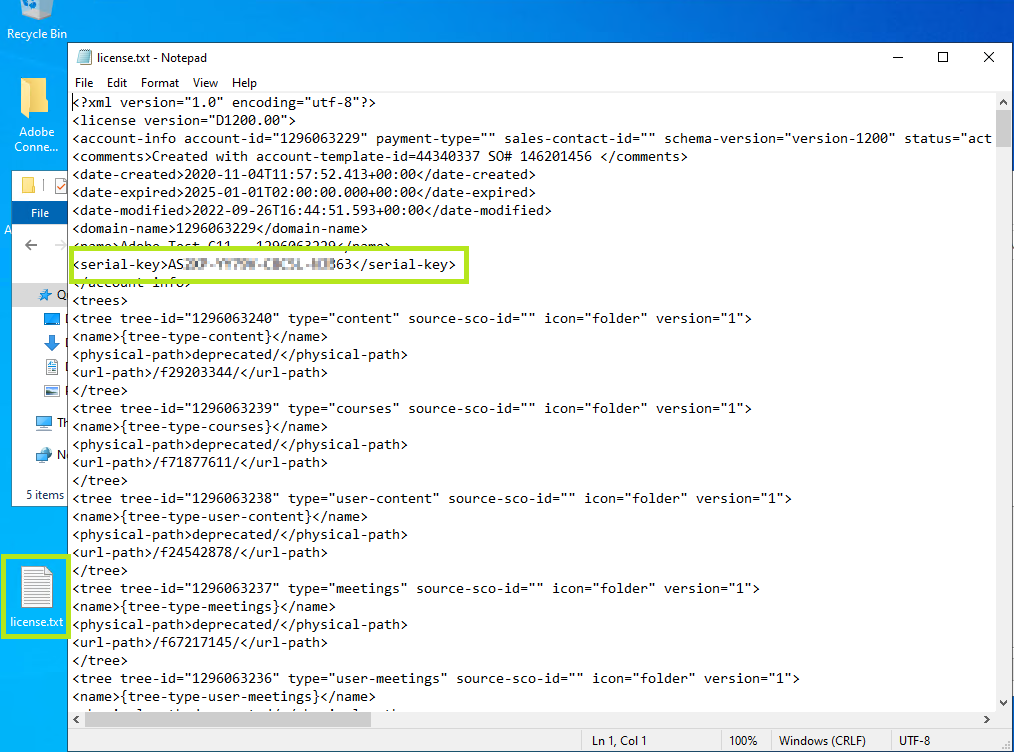 Figure 13
You will need the license.txt file in the next step. You can find the serial number/serial-key inside the license.txt file.
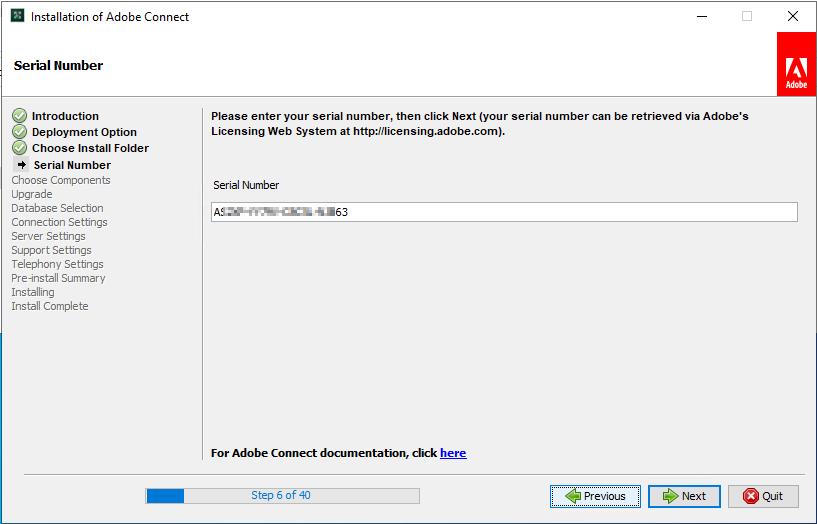 Figure 14
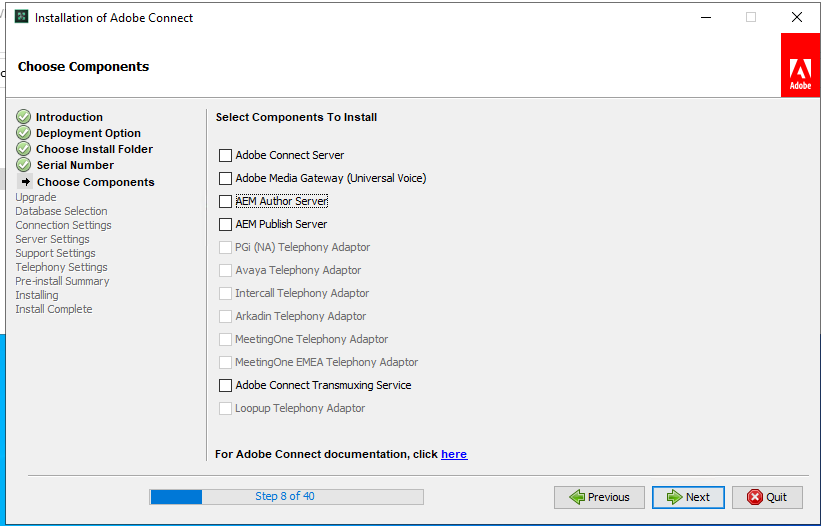 Figure 15
You have options… For very small deployments of Adobe Connect you can install the Adobe Connect Server and the Adobe Connect Transmuxing Service on the same machine. In the next few screens, I will choose to install the MS SQL Express on this same machine. Once complete, I will have all four services running on the same machine/VM. (Make it beefy system…)
- Adobe Connect Service
- Adobe Media Server
- Adobe Connect Transmuxing service
- SQL Server (MSSQLSERVER)
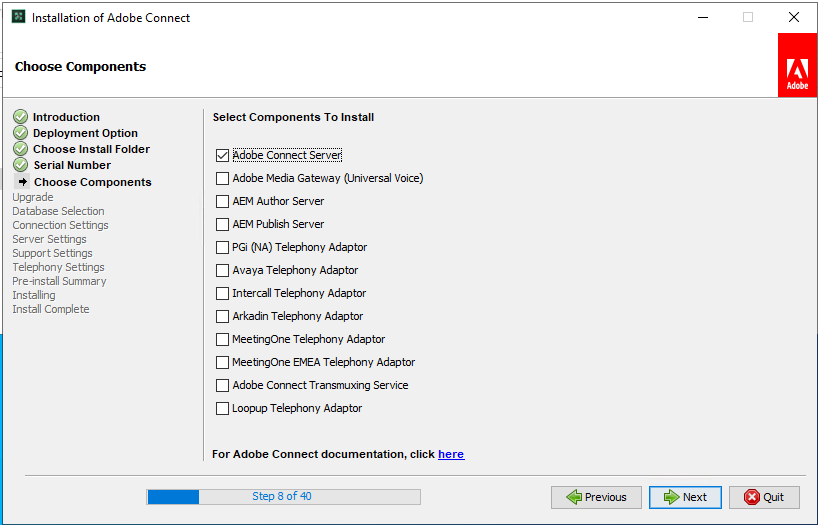 Figure 16
 Figure 17
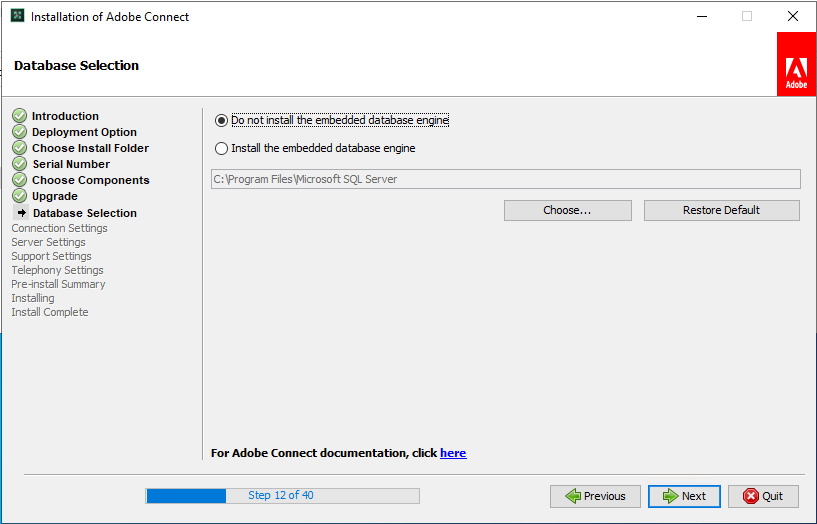 Figure 18
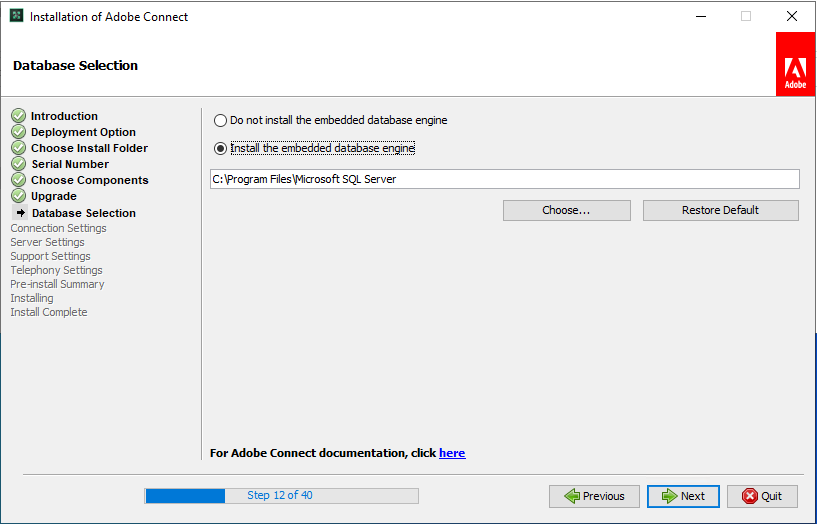 Figure 19
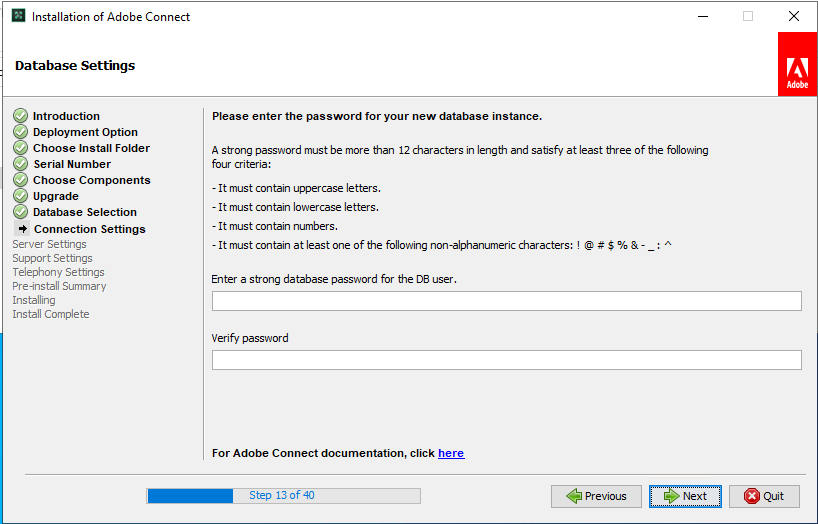 Figure 20
Pro tip – write down the MS SQL DB password in a file on the desktop of this machine. You our someone else will thank you later…
 Figure 21
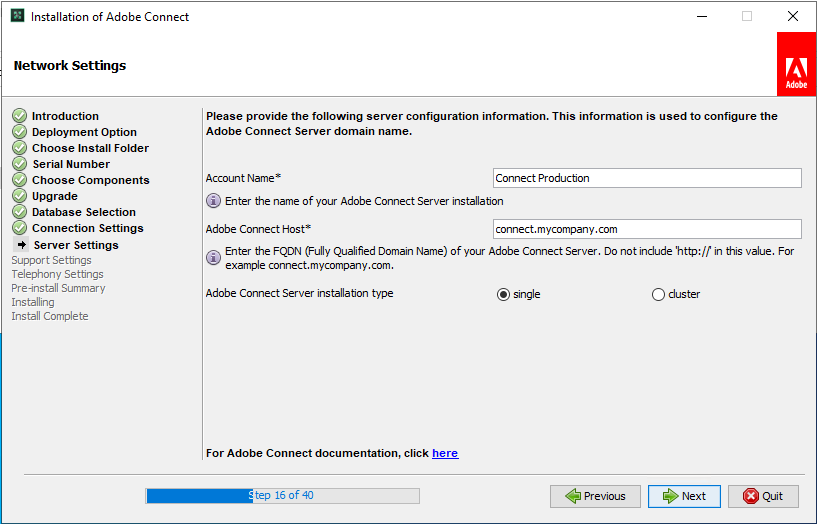 Figure 22
The account name is required, but really does not matter for small deployments. The Adobe Connect Host should be the URL/FQDN that you want your users to put in the browser to access the system.
 Figure 23
 Figure 24
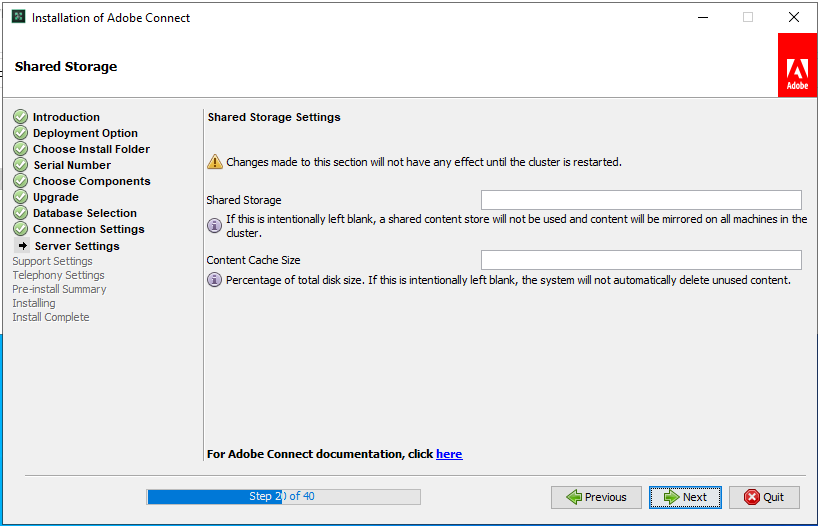 Figure 25
It is fine to leave this page blank
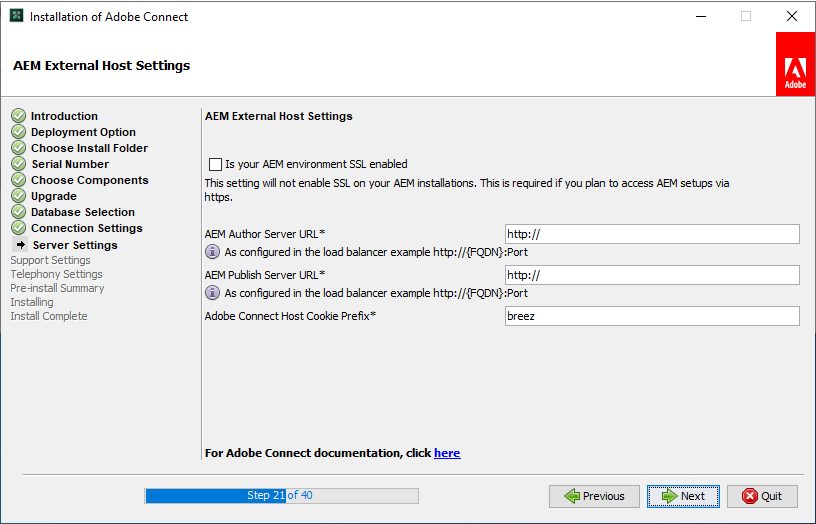 Figure 26
If you did not install the AEM options (shown on Figure 16) it is fine to leave this page blank
 Figure 27
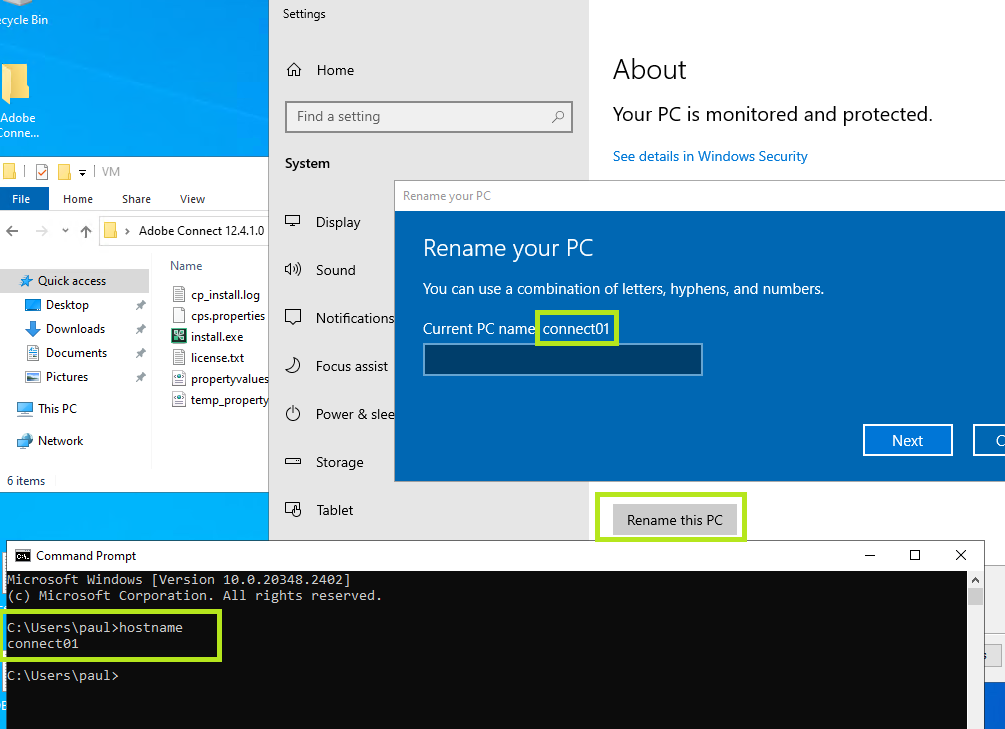 Figure 28
two options to confirm the hostname of the machine
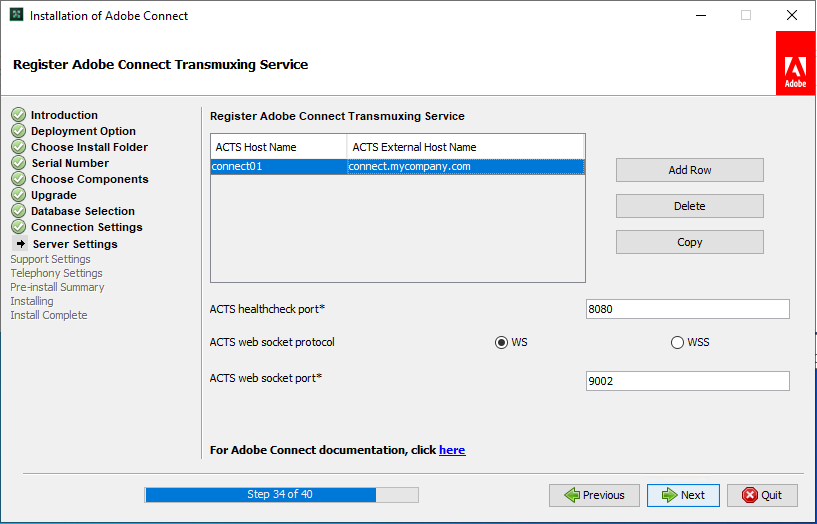 Figure 29
 Figure 30
 Figure 31
 Figure 32
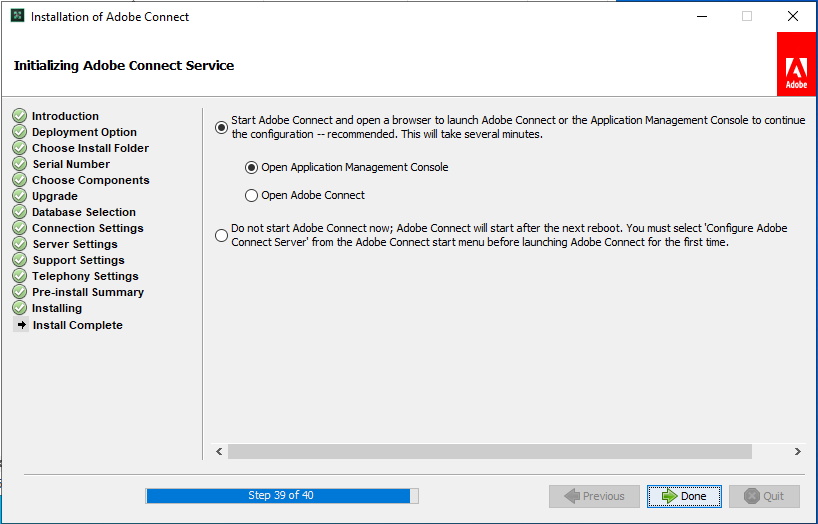 Figure 33
Kind of important note: this is _Done_ button 1 of 2. There is one more _Done_ button…
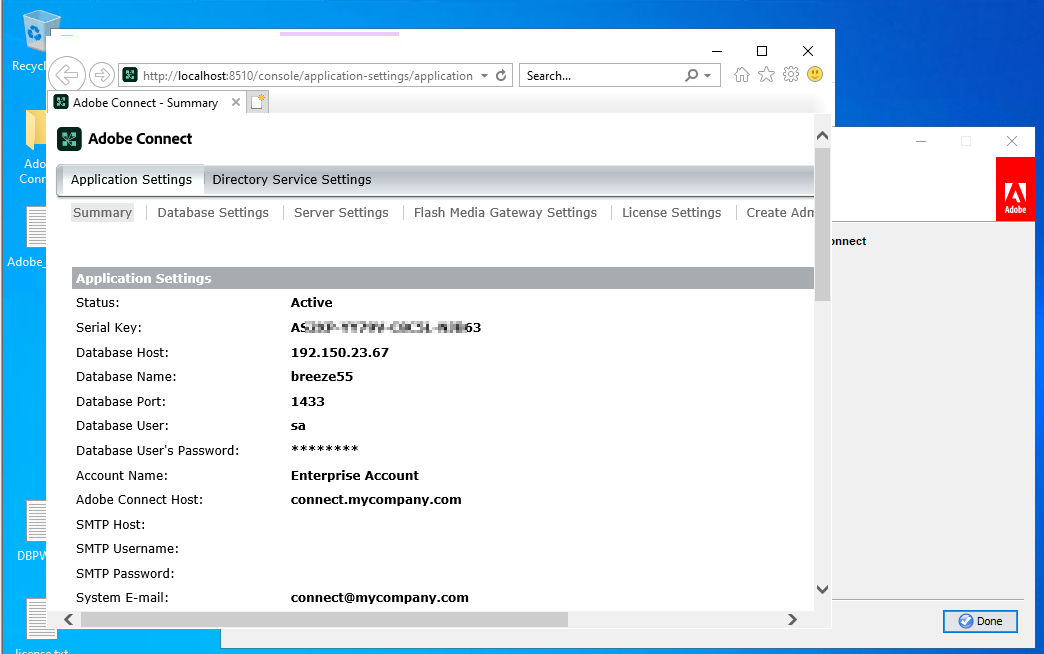 Figure 34
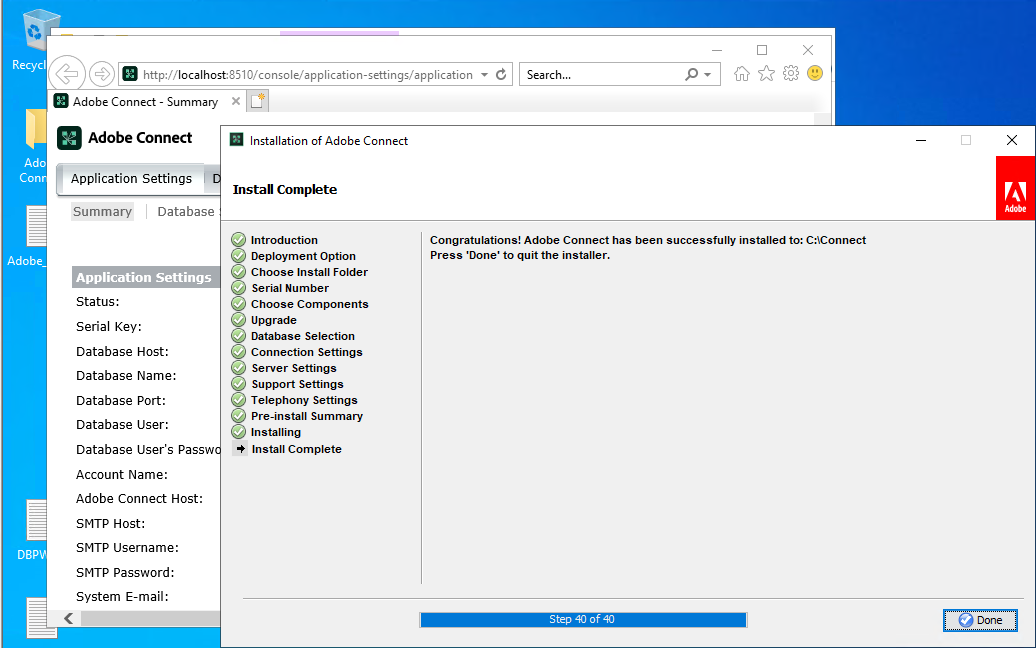 Figure 35
This is _Done_ button 2 of 2. It is often hidden behind the browser window it opens the console. But it is IMPORTANT to click the done button for the install to close out.
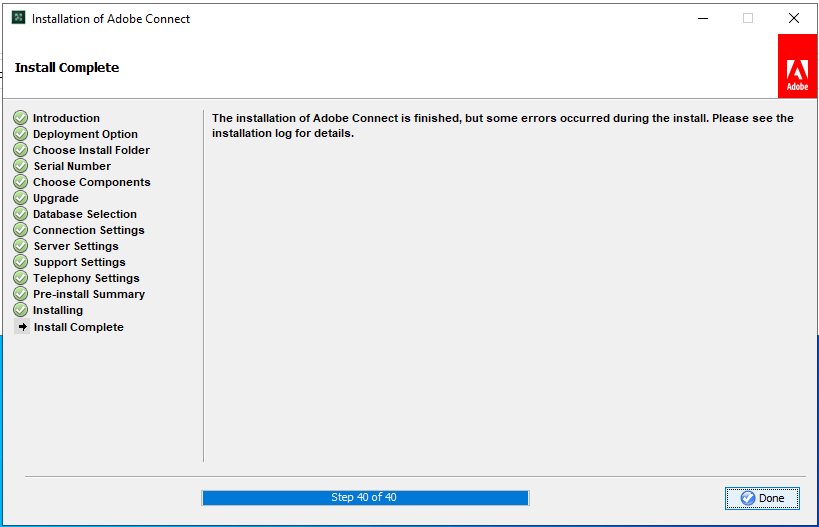 Figure 36
This is not good. The other bad one to look for is: Adobe Connect has installed successfully with errors. (Well, it wasn’t successful…)
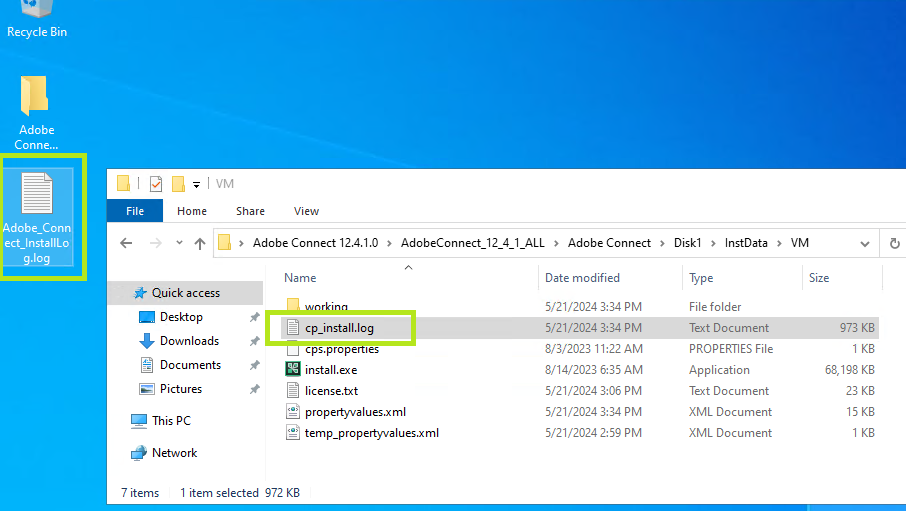 Figure 37
Here are the installation log files…

Figure 38
localhost:8510/console will be important to have bookmarked.
 Figure 39
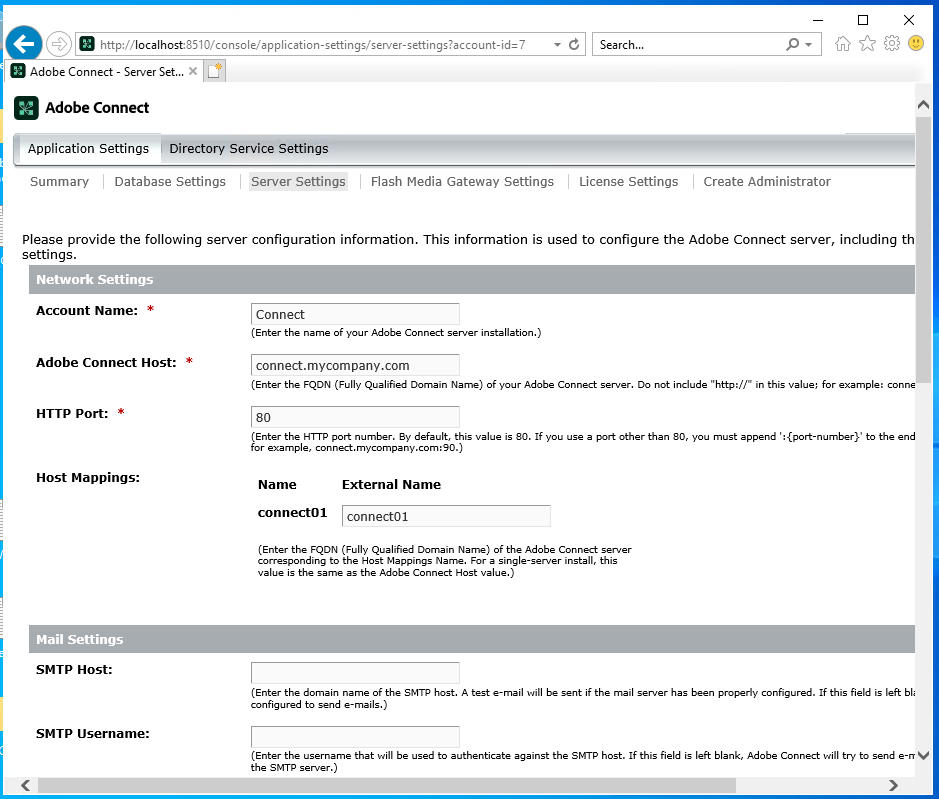 Figure 40
IMPORTANT: In the Host Mappings, replace the entry in the External Name field with the FQDN of THIS server. In this case as a single server deployment, it is the same as the Adobe Connect Host: connect.mycompany.com. If you deploy a cluster, each server will need a FQDN.
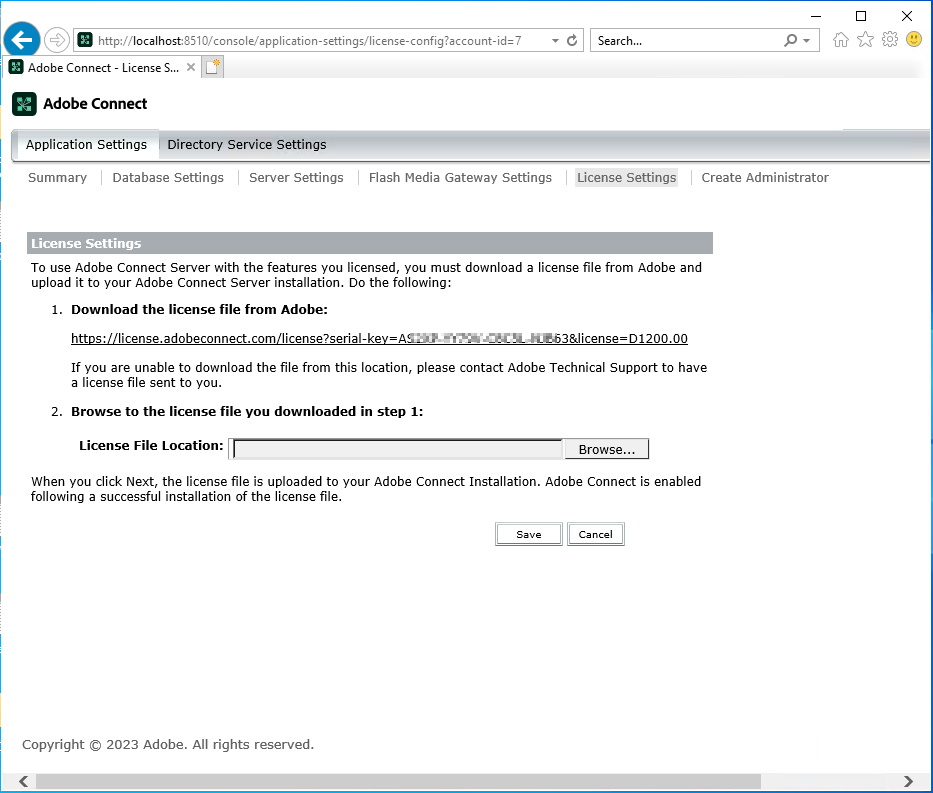 Figure 41
here is where you update the license file when adding new features or extending the license past the expiration date.
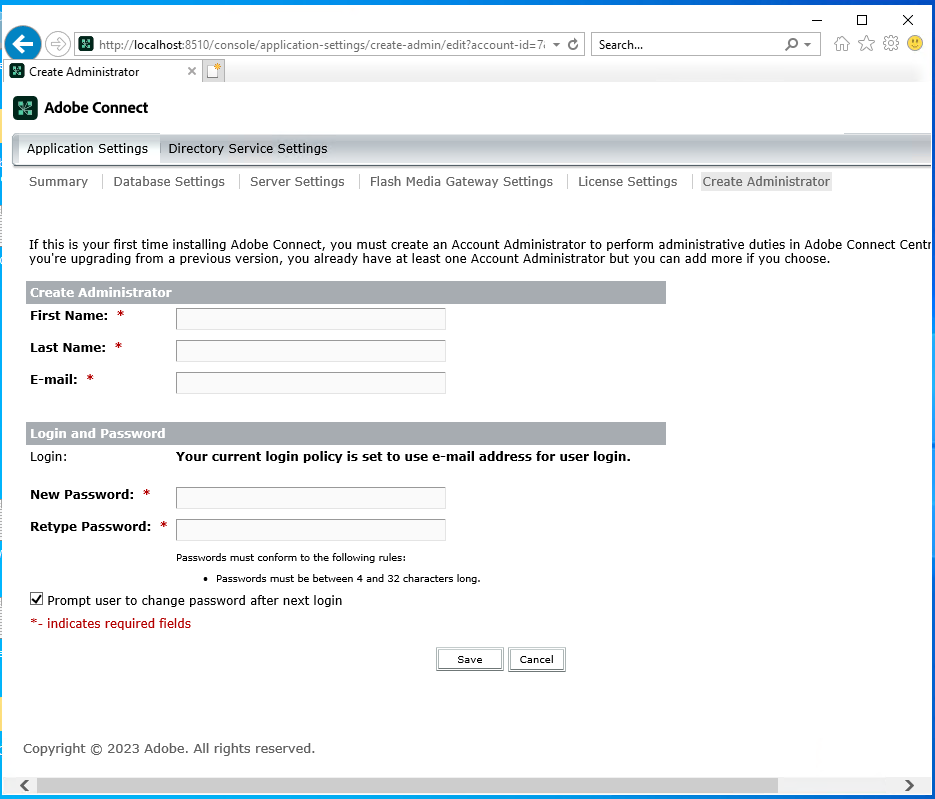 Figure 42
This is where you can setup a new Admistrator account, (very handy if you forget the original one.)
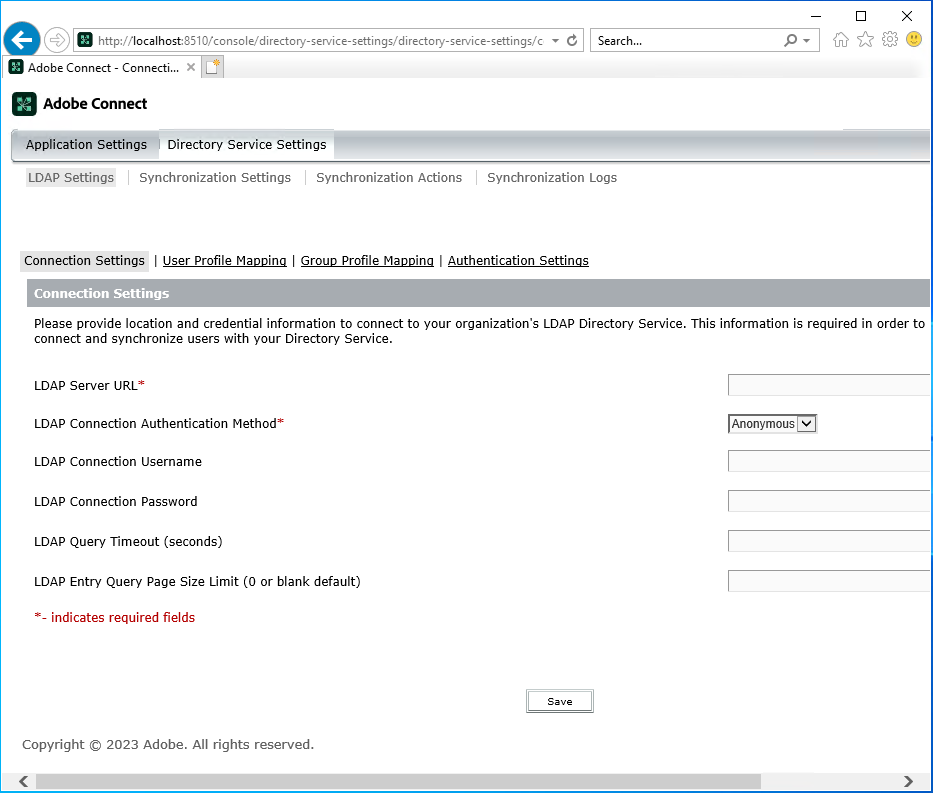 Figure 43
We support LDAP and MS AD integration, but that is another blog post…